はじめに
UnityのAddressables について
- 便利そうだけどまったく使えていない。
- とりあえず、とっかかりだけ知りたい。
と思ったので簡単にまとめた記事になります。
- Unity 2020.3.27
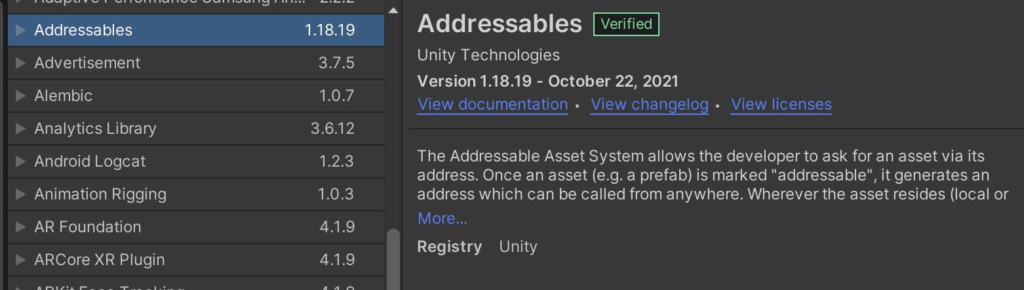
- Addressables 1.18.19
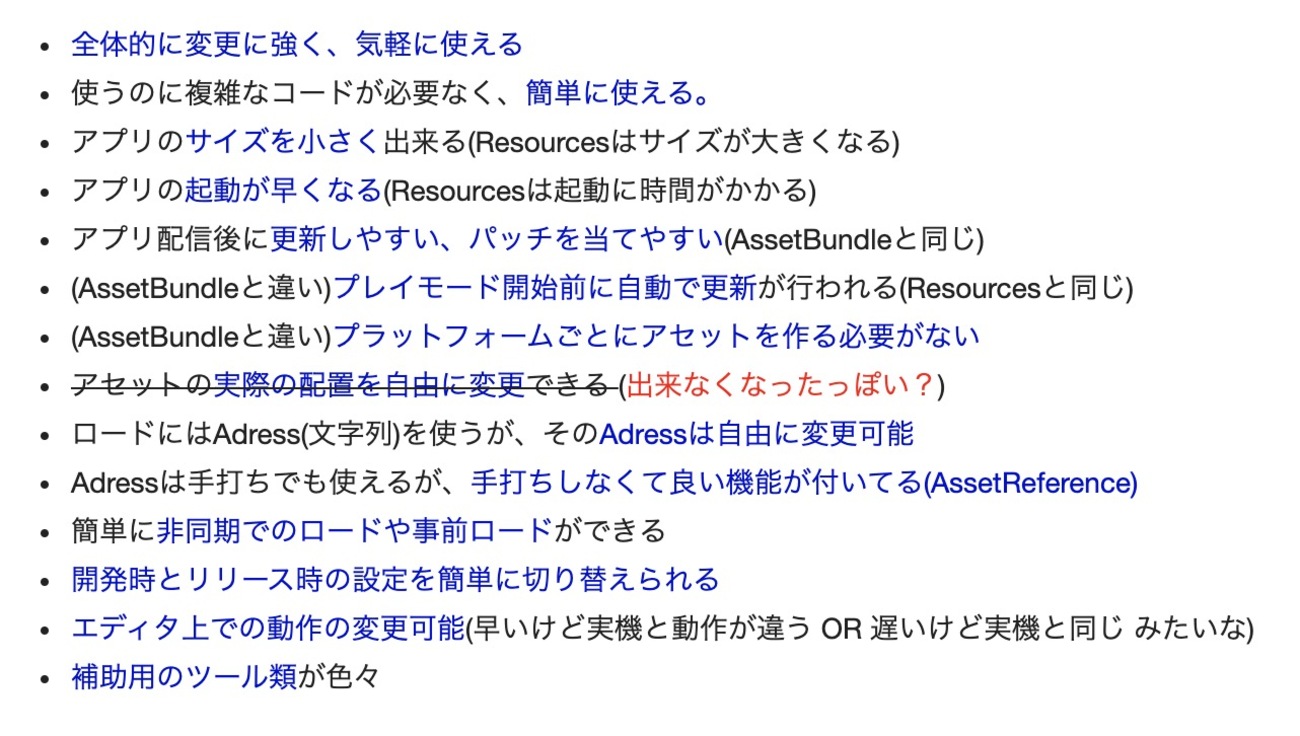
Addressables とは
AddressablesはResourcesやAssetBundleの良いとこ取りをしたシステムです。Unity2018.2から使えるようになりました。
導入
Package ManagerウインドウでPackages: Unity Registryに変更してAddressablesを探してInstallします。
インストールが完了したらWindow>Asset Management>Addressables>Groupsでウィンドウを開きCreate Addressables Settingsを押します。
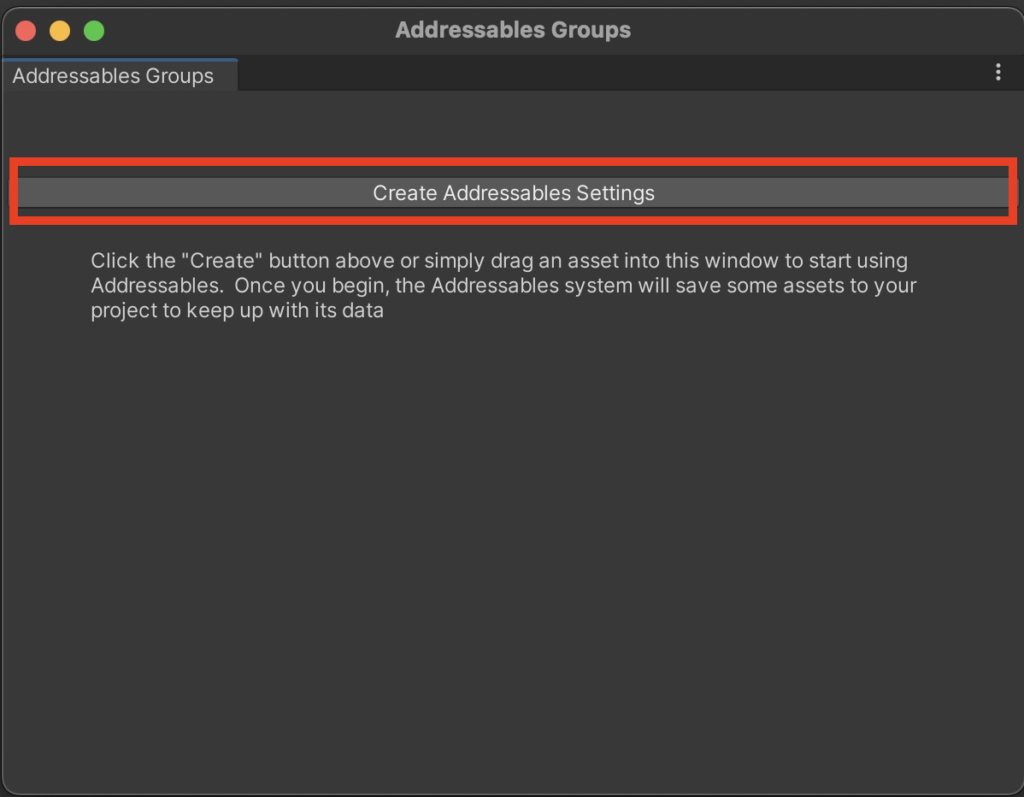
そうするとAssetsフォルダ直下にAddressableAssetsDataフォルダができます。Addressables関連の設定はここに保存されます。
また、Addressablesのインストール以降はInspectorの上部にAddressableチェックボックスが表示されるようになります。これをチェックすることでAddressablesで管理する素材になります。

ローカルからロードしてみる
導入が済んだら、さっそく画像をAddressable素材にしてスクリプトからUIを動的に差し替えてみます。
- ちなみに画像素材はこちらのアセットを使用しました。
任意の画像を選択してInspectorでAddressableにチェクを入れると右側にパスが自動で入ります。ただ、これが画像を呼び出す文字列になるので管理しやすいように変更します。ここでは「Spades.png」としました。

Window>Asset Management>Addressables>GroupsからAddressables Groupsウインドウを開きます(先の文字列はこちらでも変更できます)

Play Mode ScriptをUse Asset Databaseにします。

次に画像をロードしてUIに反映するスクリプトを用意します。
using UnityEngine;
using UnityEngine.AddressableAssets;//Addressablesを使うのに必要
using UnityEngine.UI;//UIを使うのに必要

public class AddressableSample : MonoBehaviour
{
  [SerializeField] Image Img;

  async void Start()
  {
    //Spriteをロードする
    var sprite = await Addressables.LoadAssetAsync<Sprite>("Spades.png").Task;

    //UIに反映
    Img.sprite = sprite;

    //使い終わったらメモリから開放する
    //Addressables.Release(sprite); <<今回は使わない
  }
}
スクリプトが出来たら適当なオブジェクトに貼り付けてImageをアサインします。
Playモードで画像が差し替えられることを確認します。

リモートからロードしてみる
Addressablesの真骨頂。サーバーにアップされた素材をスクリプトから動的に差し替えてみます。
- 読み込み先を変更するだけです。先に用意したスクリプトはそのまま。
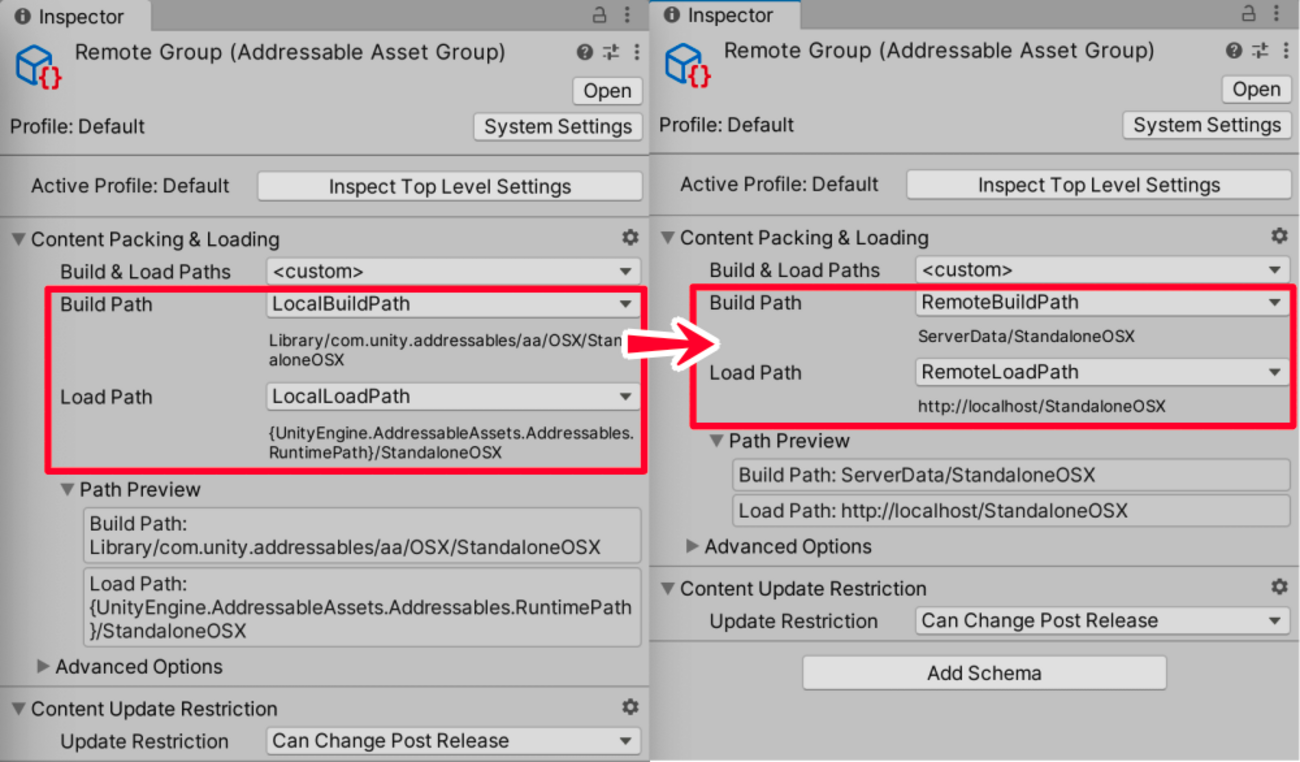
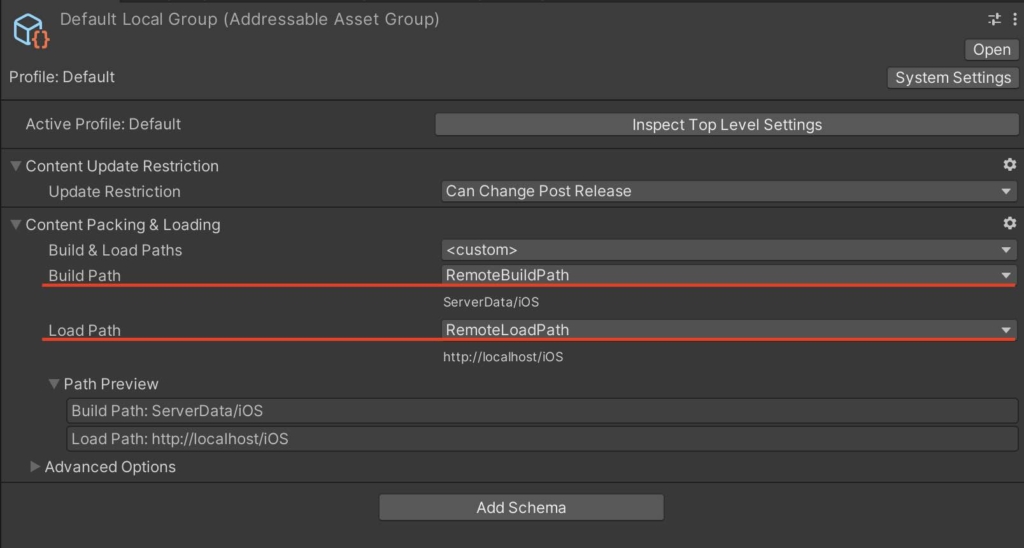
Addressables GroupsウインドウでDefault Local Groupを選択します。InspectorでBuildPathをRemoteBuildPathにします。- 同じく
InspectorでLoadPathをRemoteLoadPathにします。
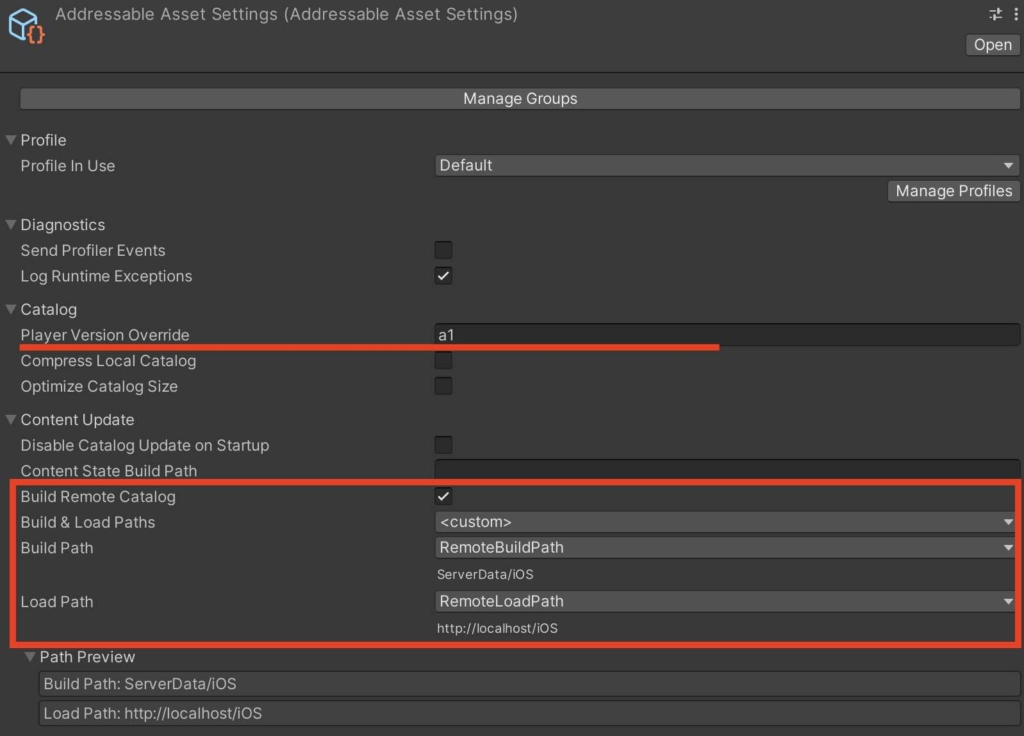
Window>Asset Management>Addressables>SettingsからAddressable Asset Settingsを開きます。
Player Version Overrideに管理しやすい文字列を入れます。ここでは「a1」としました。Build Remote Catalogをチェックします。BuildPathをRemoteBuildPathにします。LoadPathをRemoteLoadPathにします。
Addressables Groupsウインドウに戻ってBuild>New Build>Default Build Scriptでアセットバンドルをビルドします。

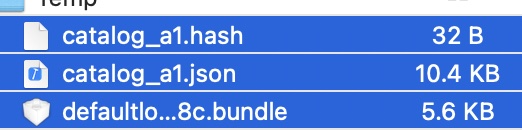
問題なければプロジェクトファイルの中にServerDataフォルダが作成され、下記3つのファイルが書き出されているはずです。
- catalog_xx.hash
- catalog_xx.json
- defaultlocalgroup_assets_all_xxxx.bundle
catalogは素材の依存関係情報と、その変更チェック用のファイルです。.bundleは素材その物を圧縮したファイルです。

レンタルサーバーやクラウドストレージなどに3つのファイルをアップロードします。
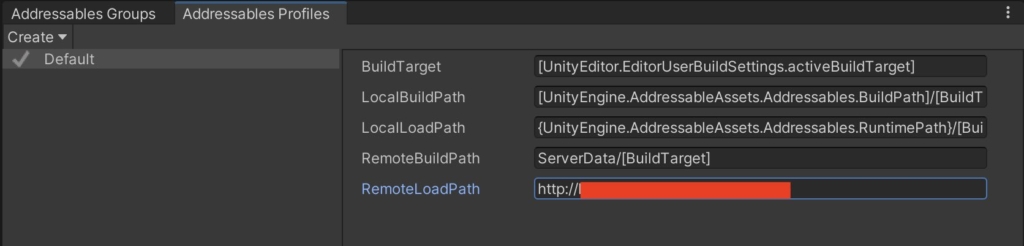
Unityに戻りWindow>Asset Management>Addressables>Profilesを選択してAddressables Profilesを開きます。RemoteLoadPathを先の3ファイルをアップしたURLに変更します。
Addressables GroupsウインドウのPlay Mode ScriptをUse Existing Buildに変更します。Use Existing Buildにすることでアセットバンドルから素材を読み込むようになります。

Playモードで画像が差し替えられることを確認します。
サーバーの素材を変更してみる
ストアでアプリを更新しなくても中身を変更できるのがAddressablesの大きな利点なので、ついでにそれも試してみます。
- アプリをリリース済みの想定で、読み込み先もスクリプトもそのまま。アセットバンドルだけビルドし直してサーバーの素材を変更します。

先程と別の画像の文字列を「Spades .png」にします。
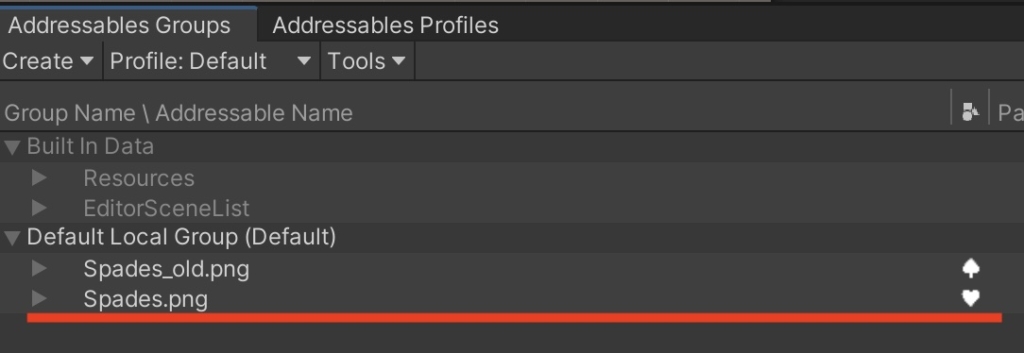
あとは先に行った手順を繰り返します。
Addressables GroupsウインドウでBuild>New Build>Default Build Scriptでアセットバンドルをビルドします。- 書き出された3つのファイルをサーバーへアップします。
Playモードで画像が差し替えられることを確認します。
以上です。
参考