目次
はじめに
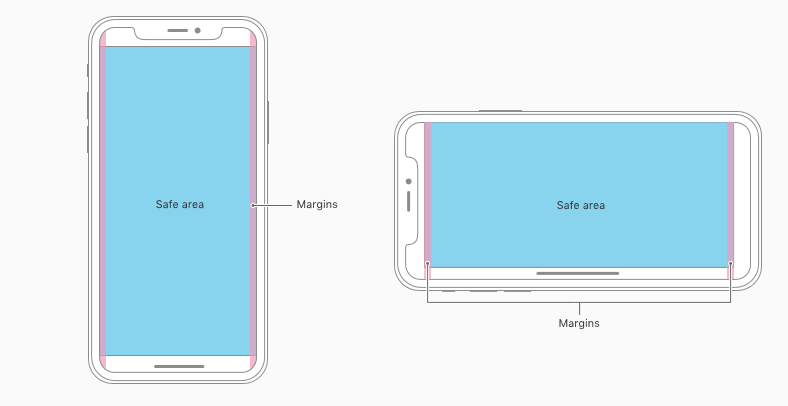
uGUIで iOS / Androidのセーフエリアに対応するコードの紹介です。セーフエリアに合わせる箇所を上下左右で選択できるようになっています。開発済みのタイトルにも導入しやすいと思います。
コードサンプル
UnityのScreenクラスを使って、Screen.safeAreaで簡単にセーフエリアを取得できます。
using UnityEngine;
public class SafeAreaAdjuster : MonoBehaviour
{
//セーフエリアに合わせたい箇所をtrueにする。
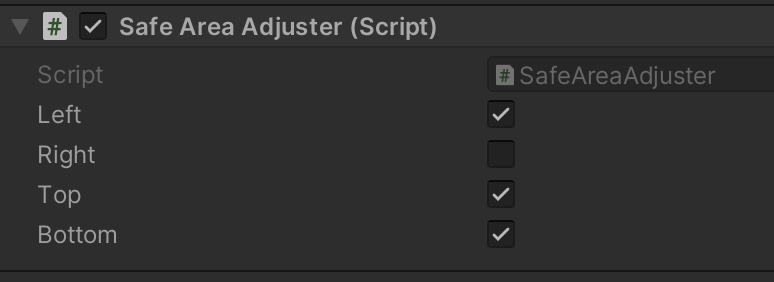
[SerializeField] bool left;
[SerializeField] bool right;
[SerializeField] bool top;
[SerializeField] bool bottom;
private void Start() {
var panel = GetComponent<RectTransform>();
var area = Screen.safeArea;
var anchorMin = area.position;
var anchorMax = area.position + area.size;
if(left) anchorMin.x /= Screen.width;
else anchorMin.x = 0;
if(right) anchorMax.x /= Screen.width;
else anchorMax.x = 1;
if(bottom) anchorMin.y /= Screen.height;
else anchorMin.y = 0;
if(top) anchorMax.y /= Screen.height;
else anchorMax.y = 1;
panel.anchorMin = anchorMin;
panel.anchorMax = anchorMax;
}
}使い方
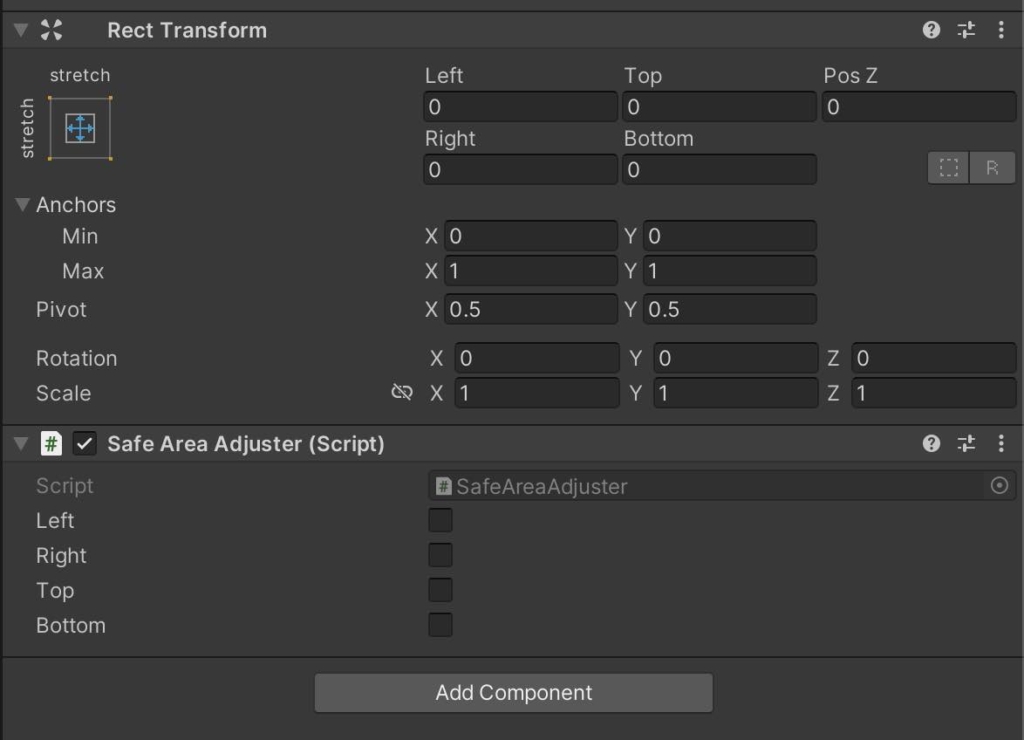
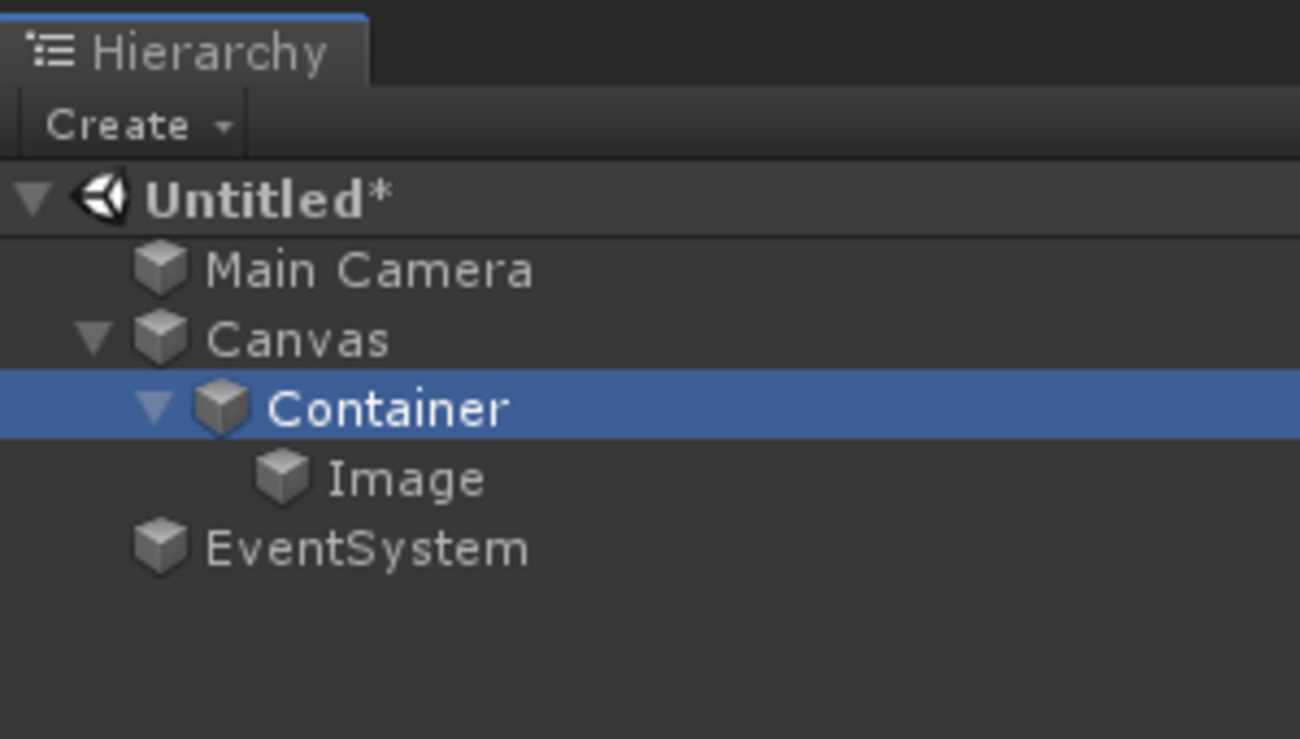
Canvas内にRootとなるオブジェクトを作り、Rect Transformのstretchや値を下記の様にして、「SafeAreaAdjuster」を貼り付けてください。
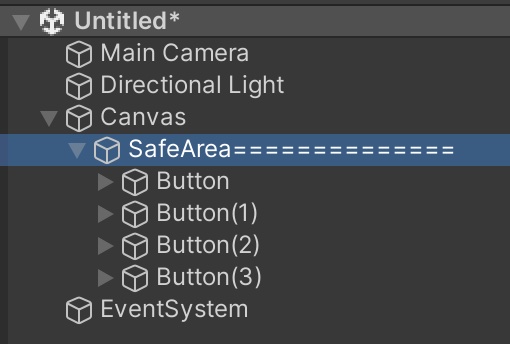
セーフエリア合わせにしたいUI素材をRootオブジェクトの子供にしてください。
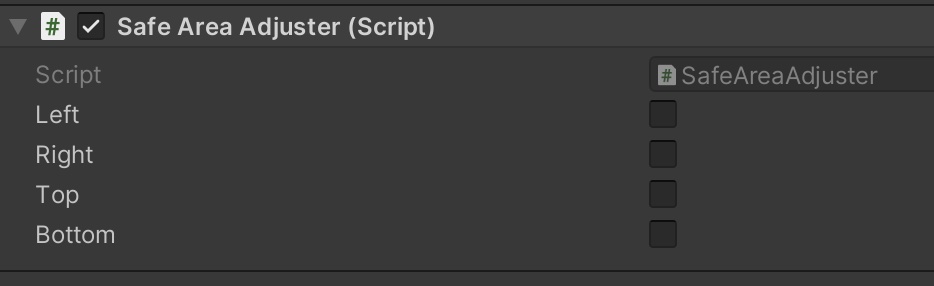
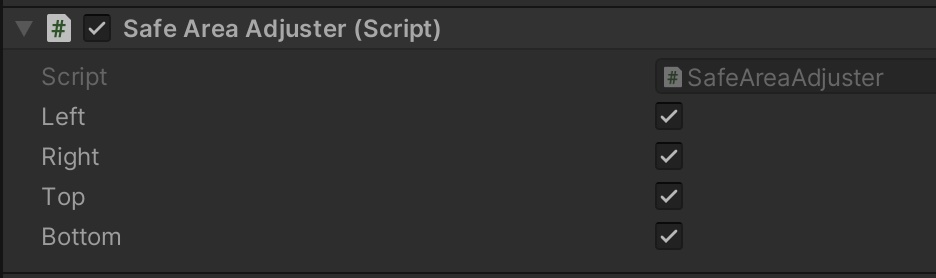
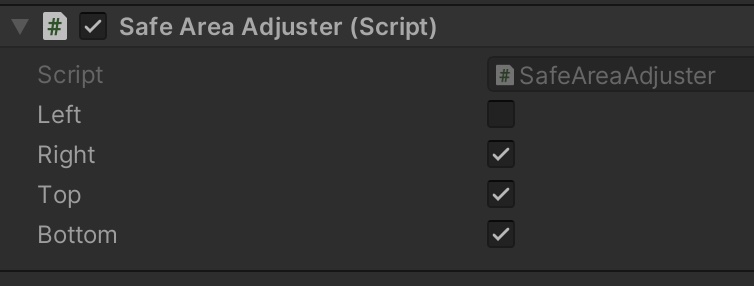
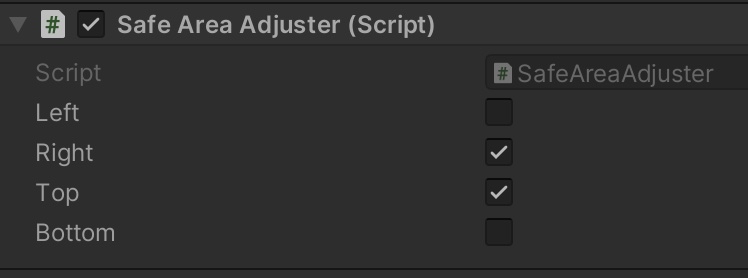
あとは、Inspectorでセーフエリア合わせにしたい箇所にチェックを入れるだけです。
- Left
- Right
- Top
- Bottom
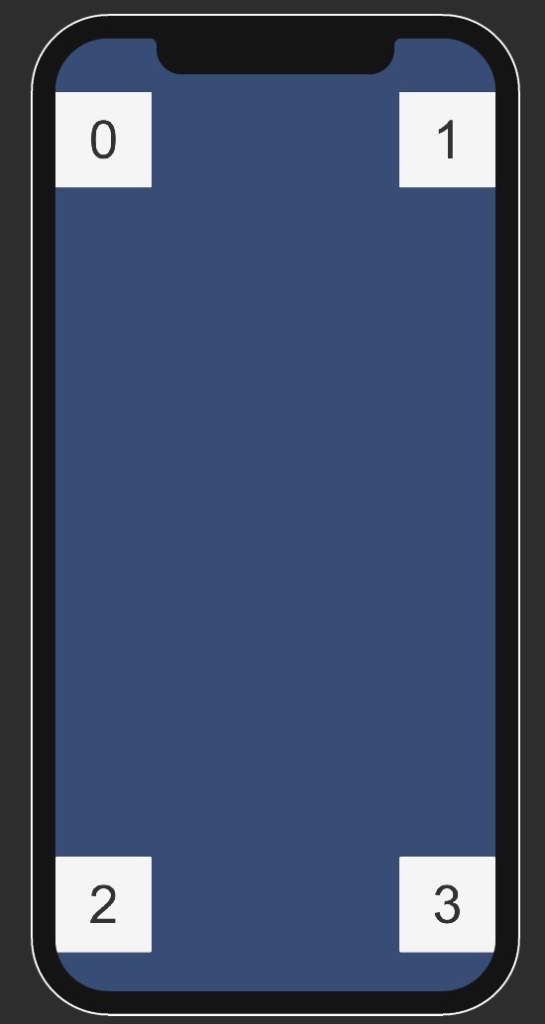
Device Simulatorでいろいろ試す
Simulatorモードや端末で実行して、いろいろ試してみてください。
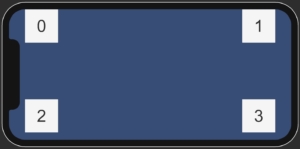
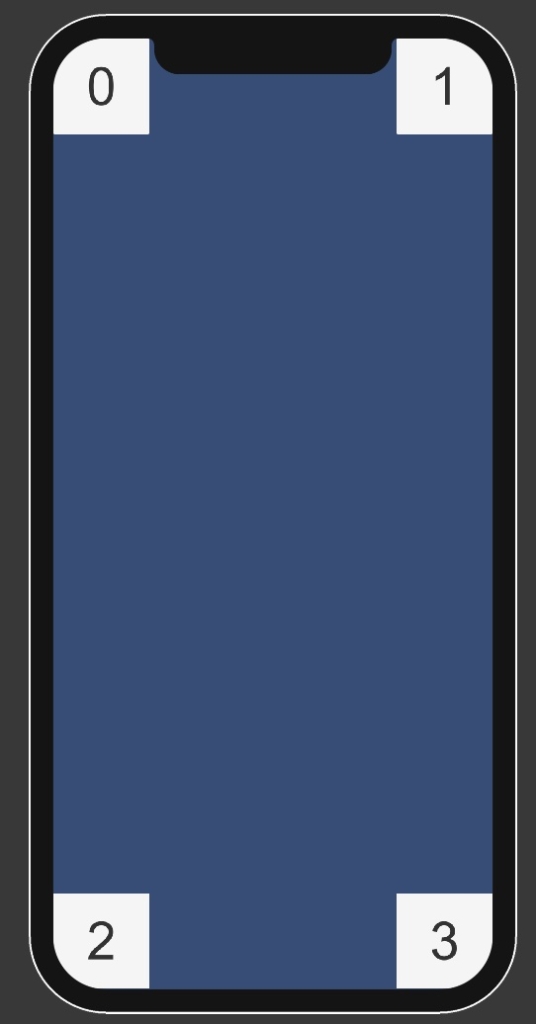
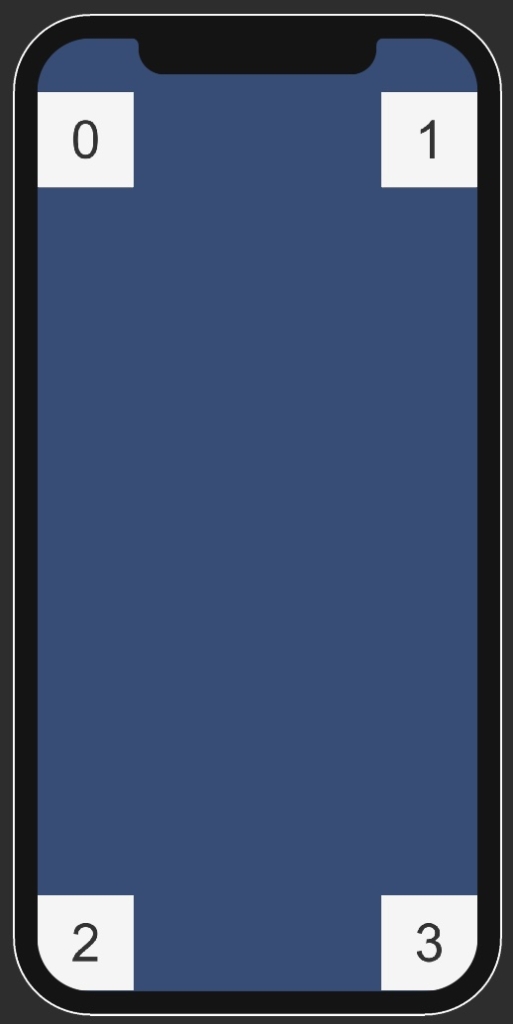
縦画面 サンプル1(ノッチ上)
縦画面 サンプル2(ノッチ上)

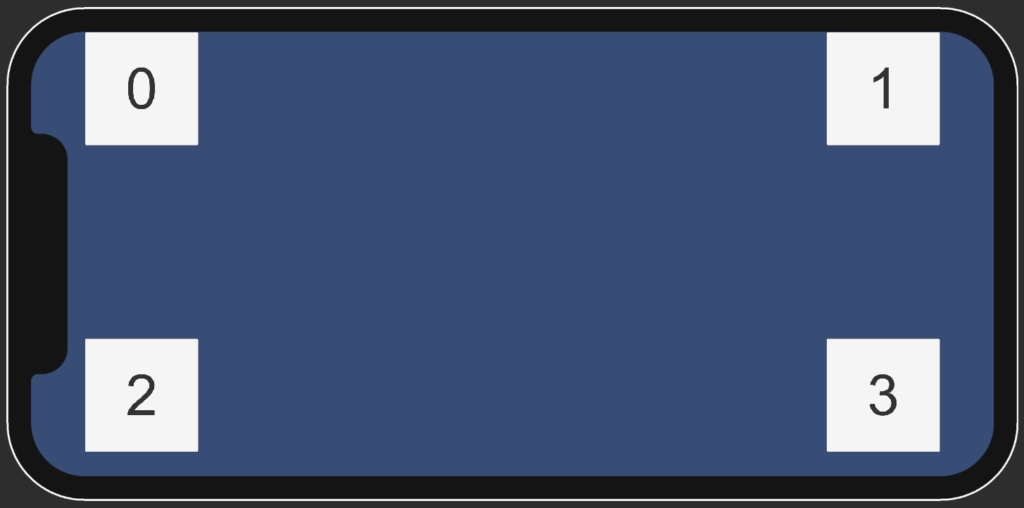
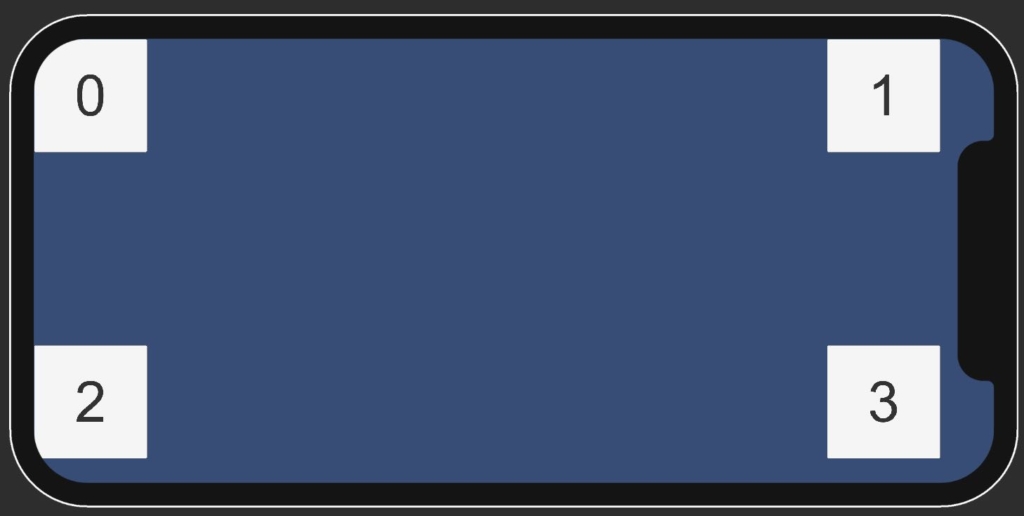
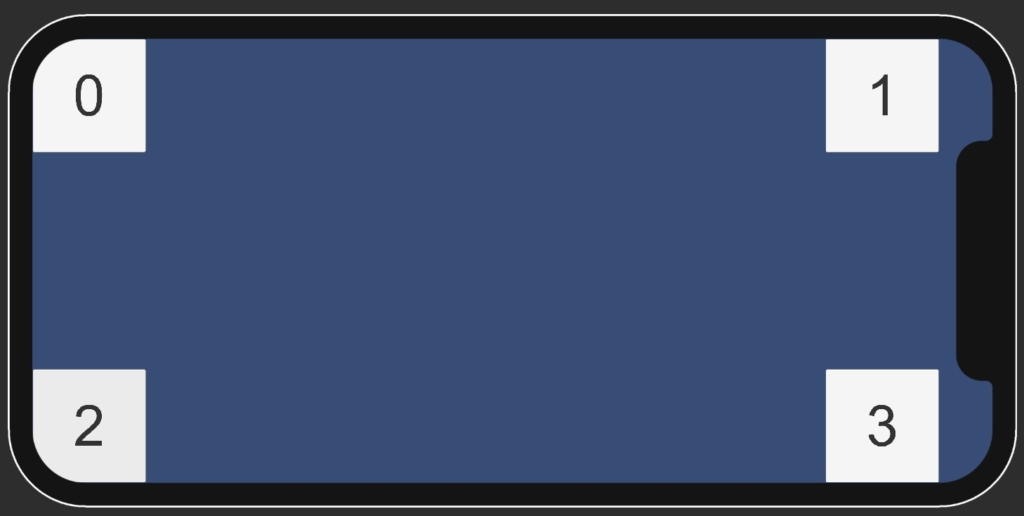
横画面 サンプル1(ノッチ左)
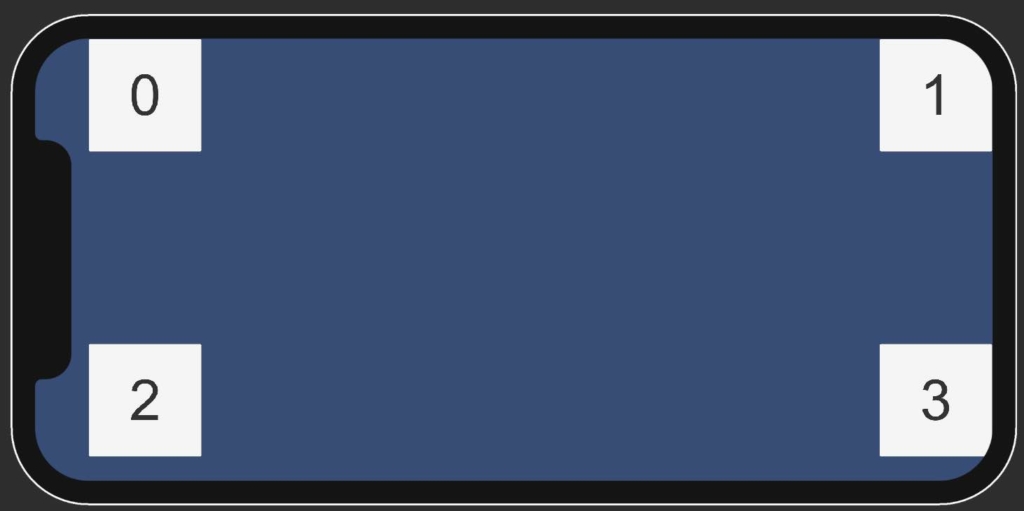
横画面 サンプル2(ノッチ左)
横画面 サンプル3(ノッチ右)
横画面 サンプル4(ノッチ右)
参考
実践ゲーム製作メモ帳2

秒でセーフエリア対応する - 実践ゲーム製作メモ帳2
要は Screen.safeArea に親 RectTransform を合わせればいいんだけど、ググると回りくどい方法しか出てこないので。 対応 1. Canvas と UI の間に Container 的なオブジェ...